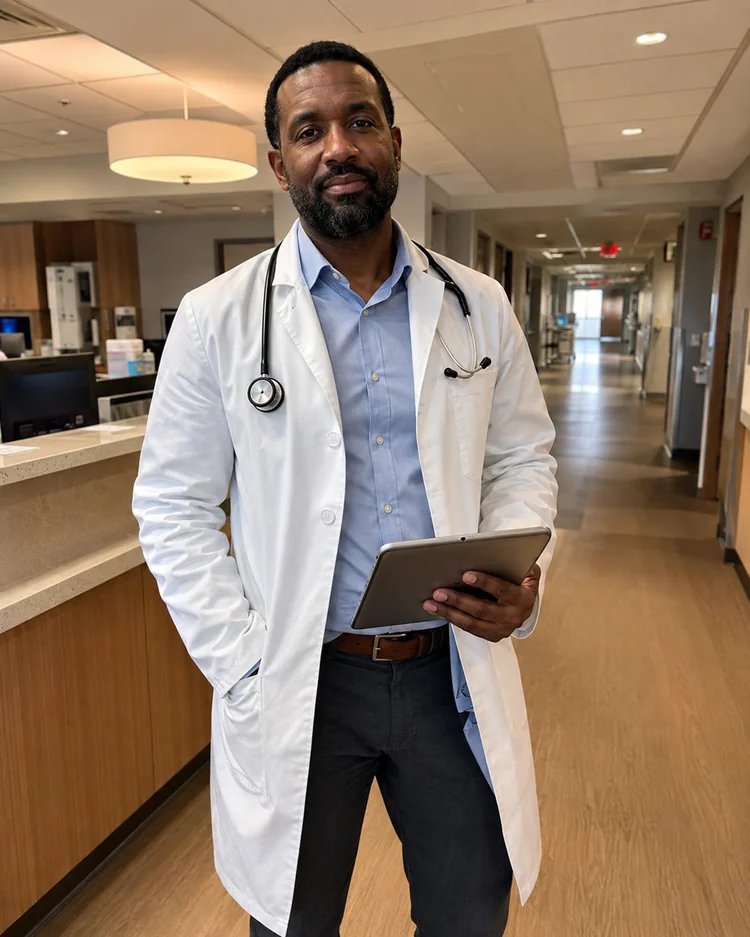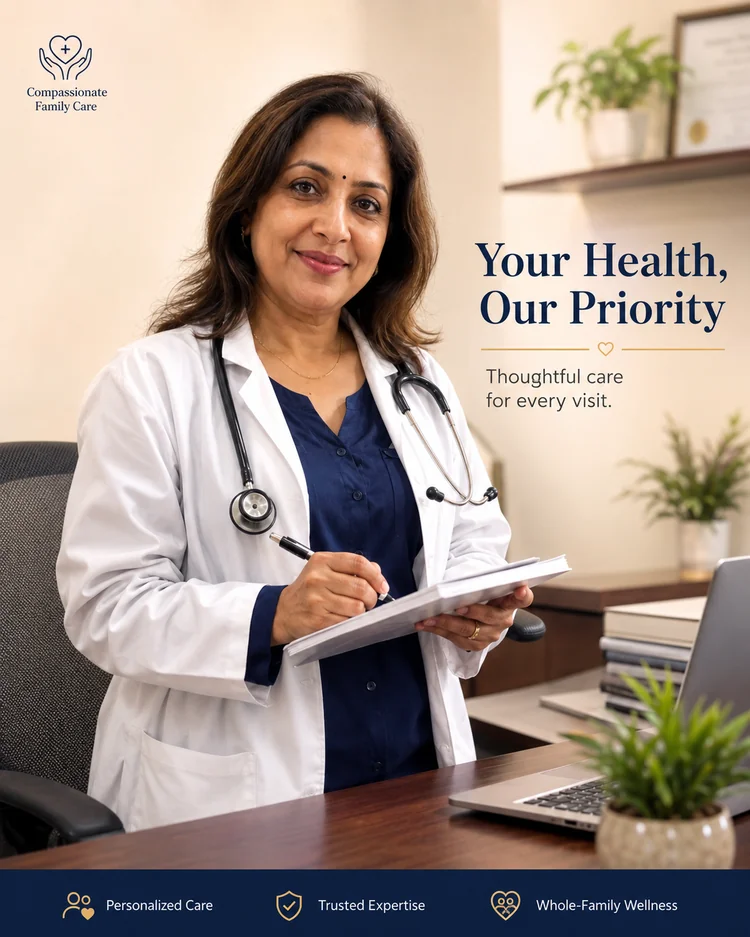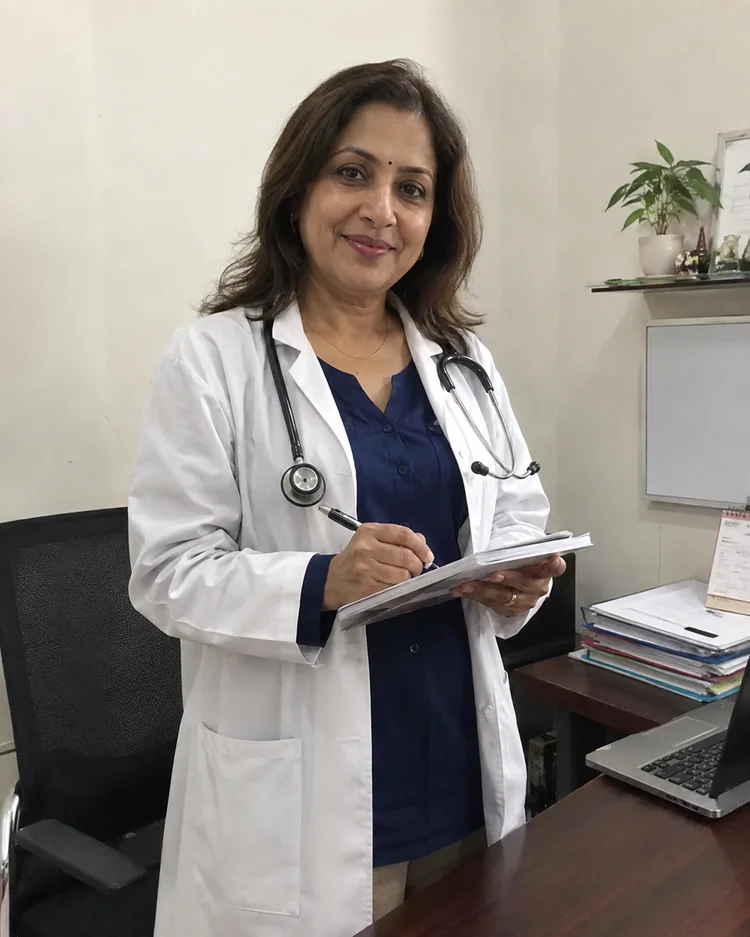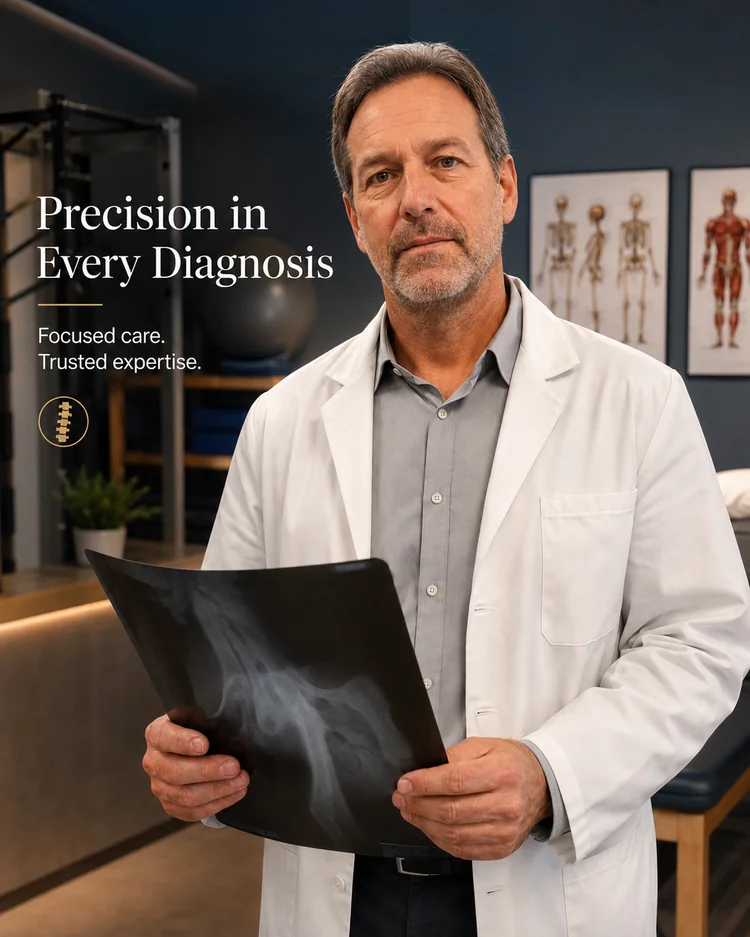
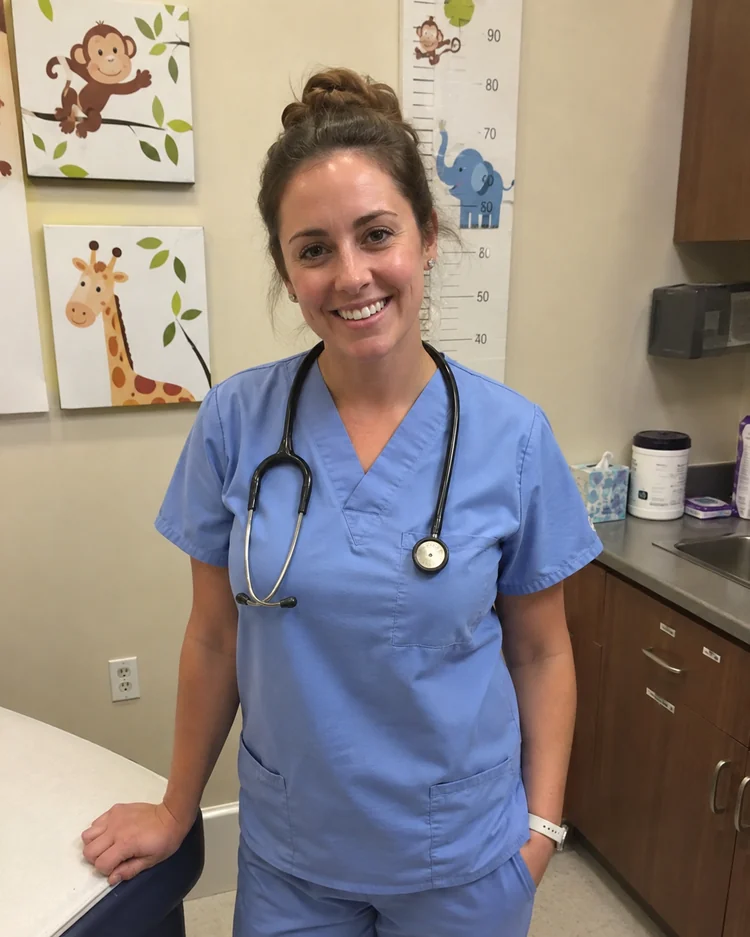
 Original
Create a trustworthy healthcare portrait with clean professional presentation.
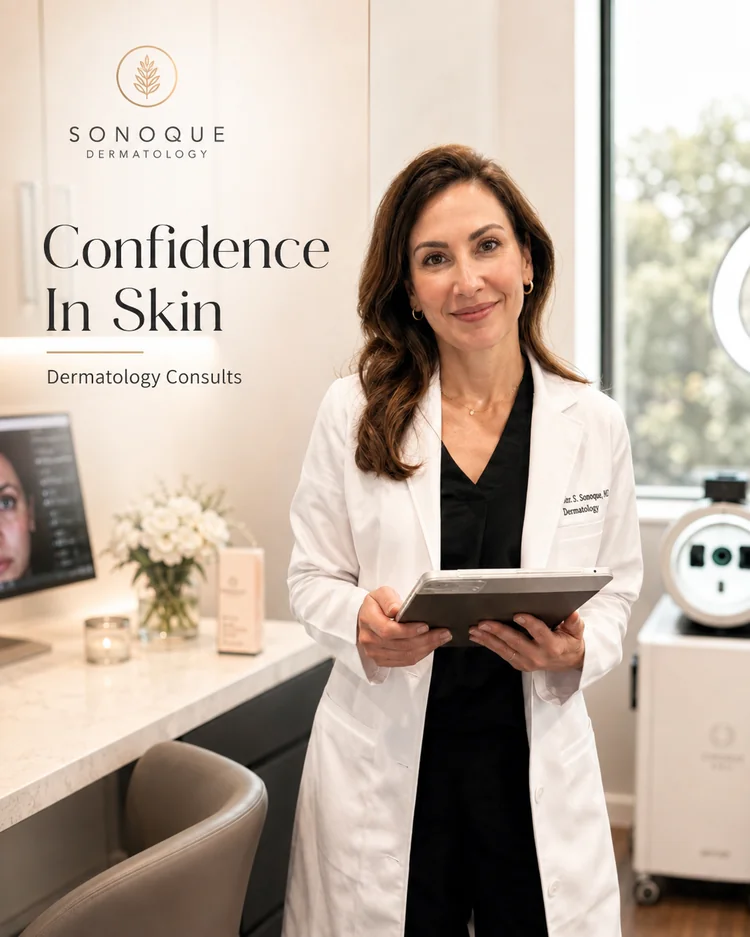
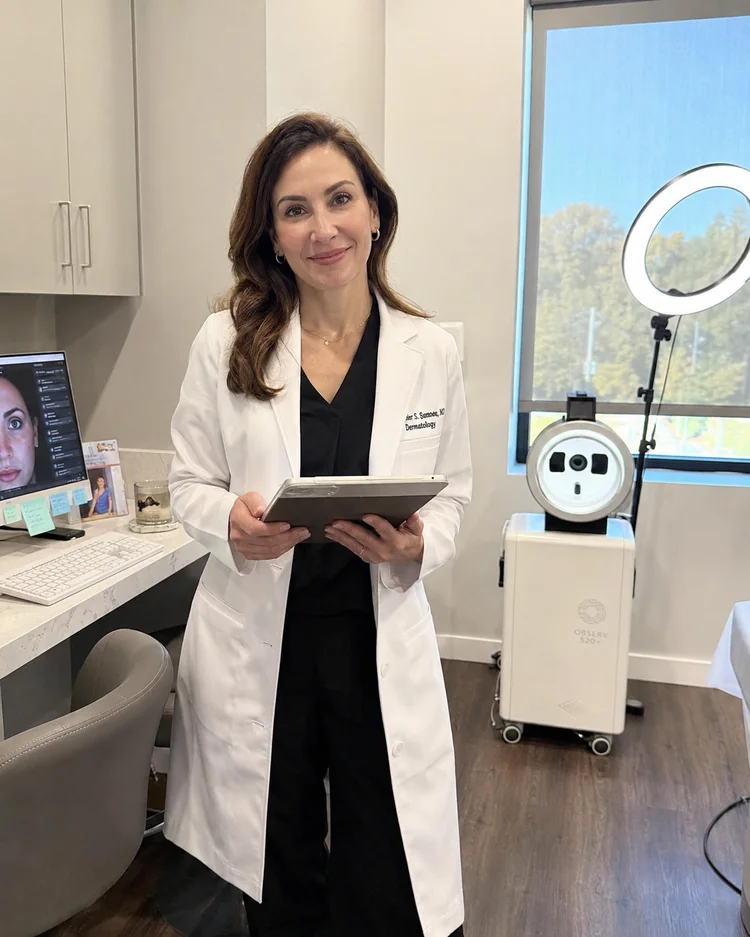
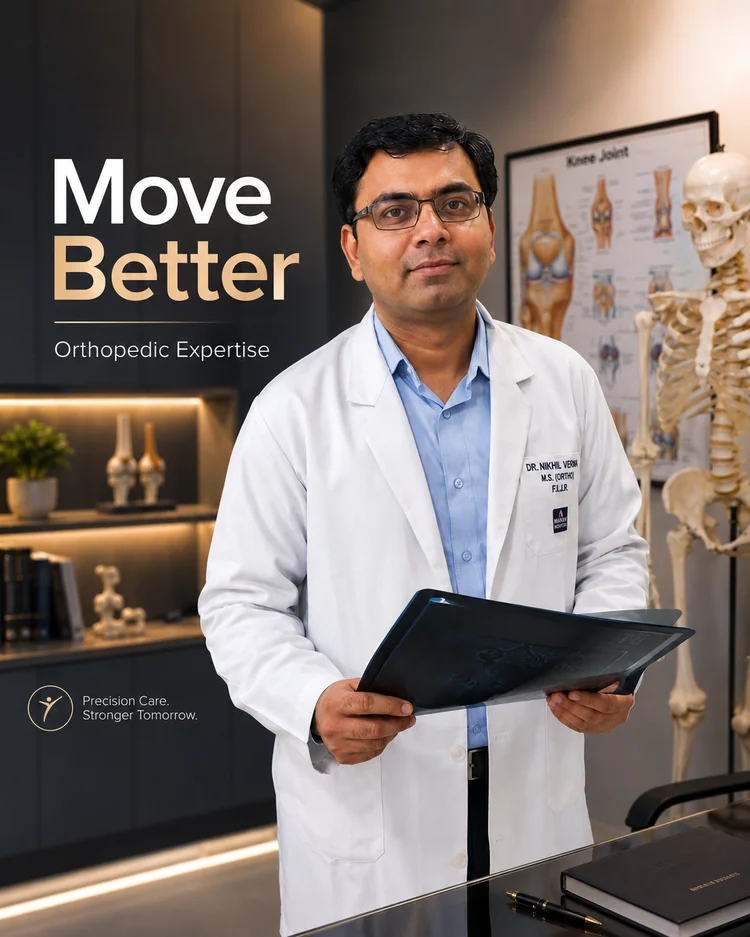
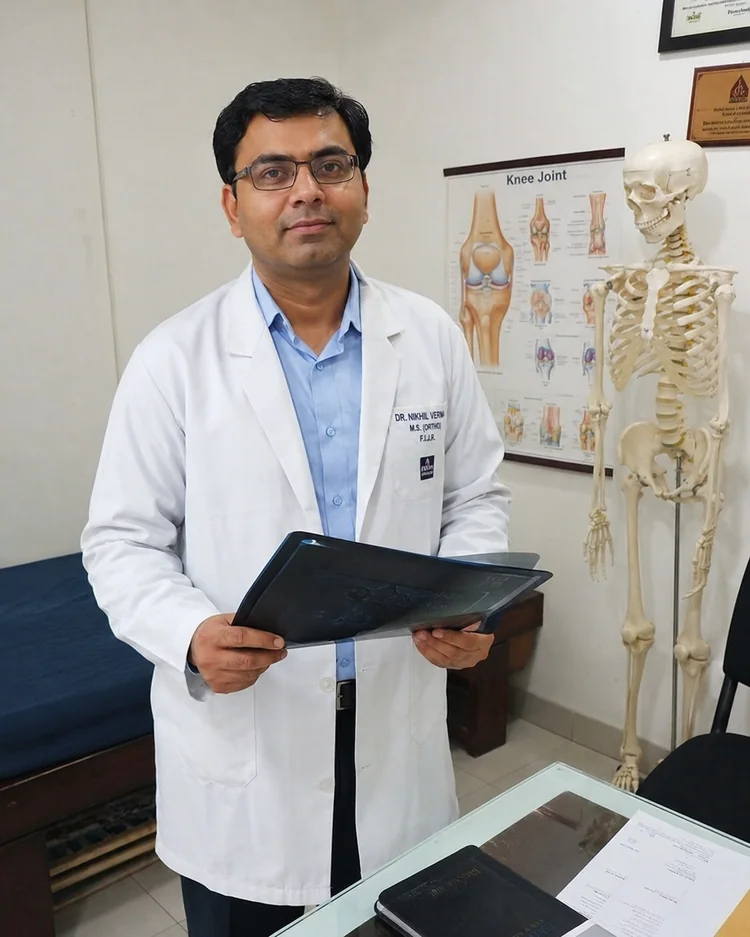
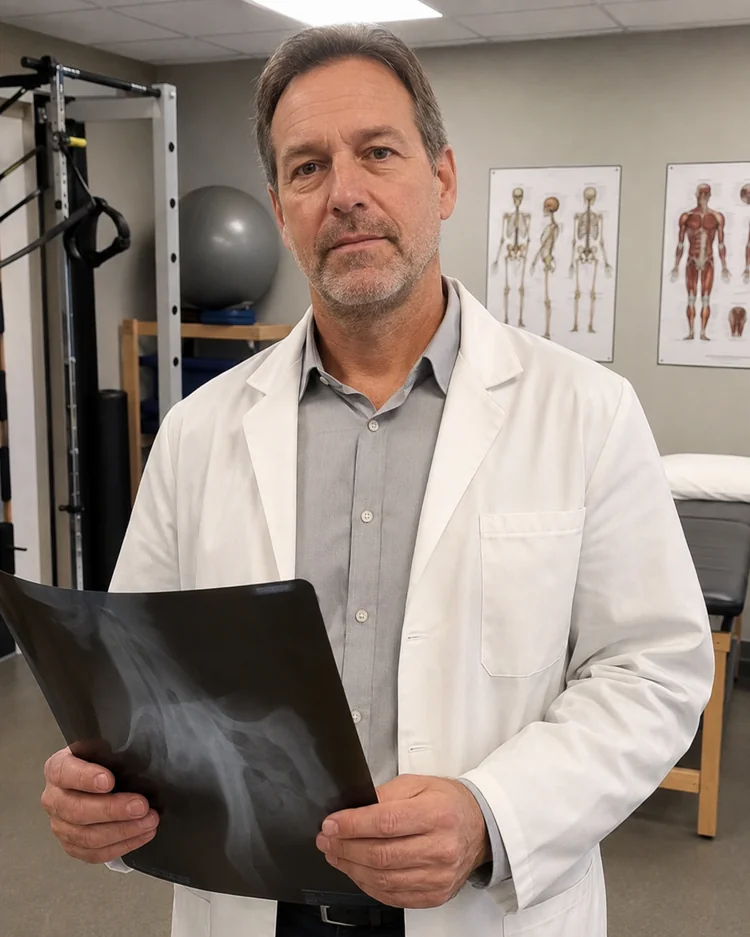
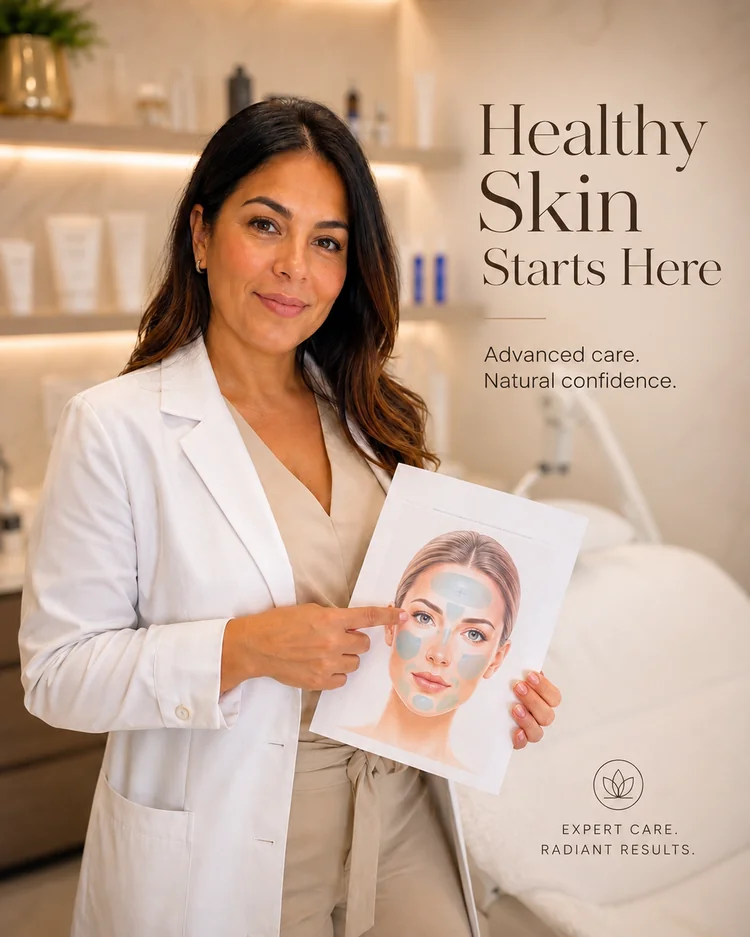
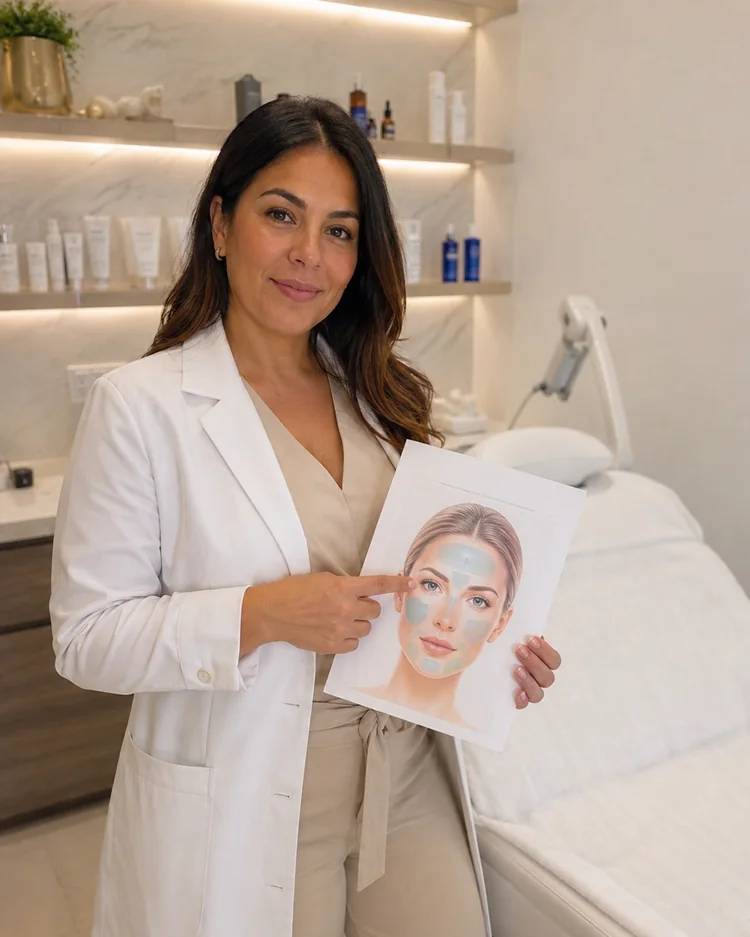
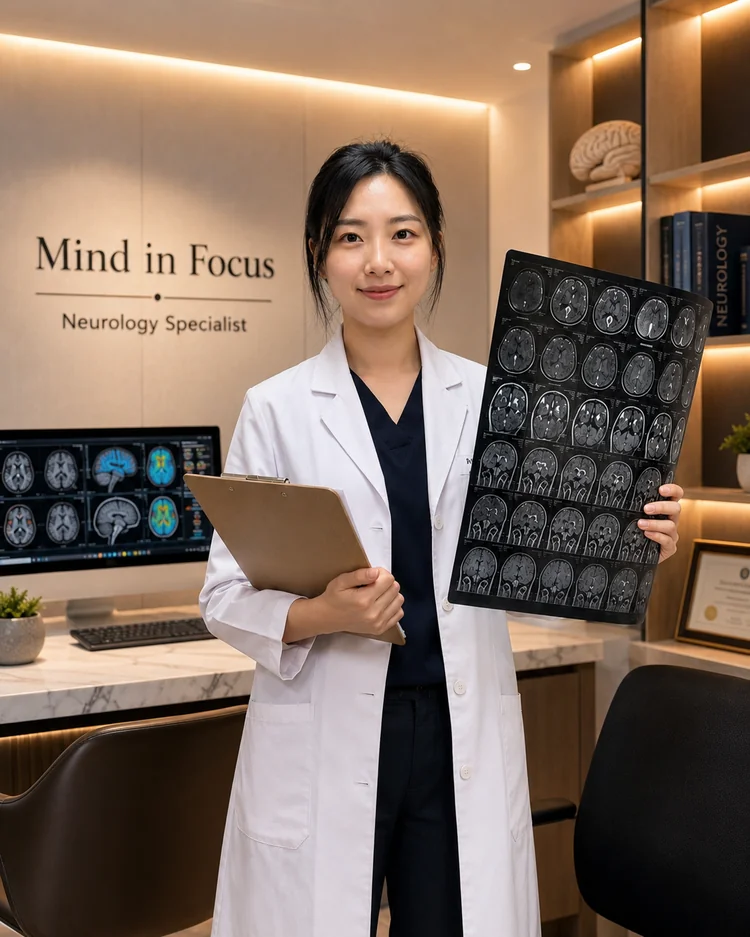
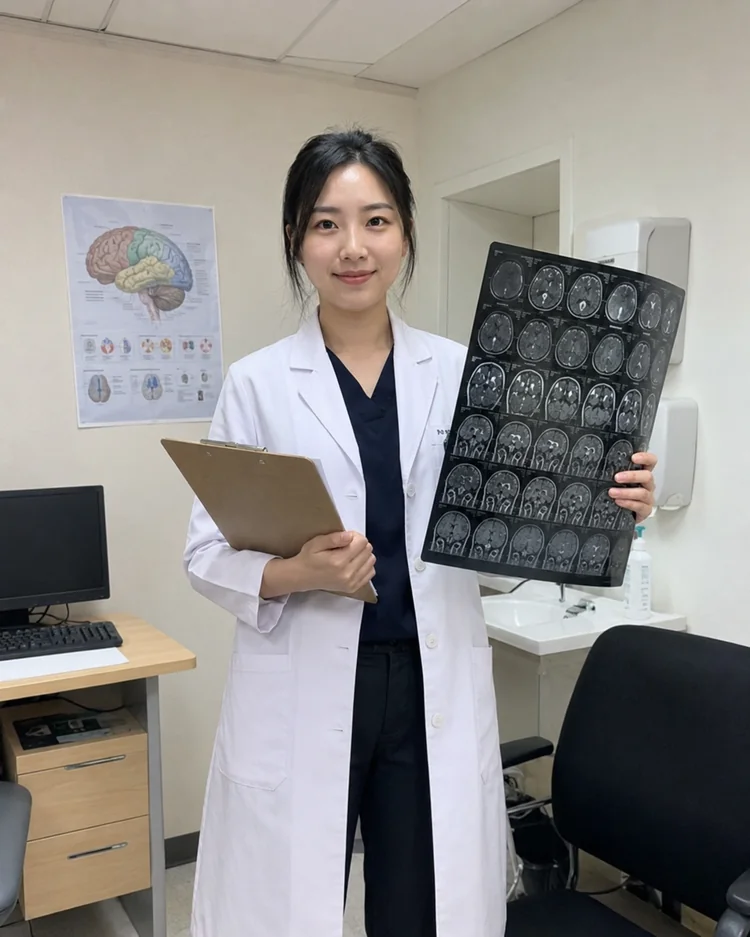
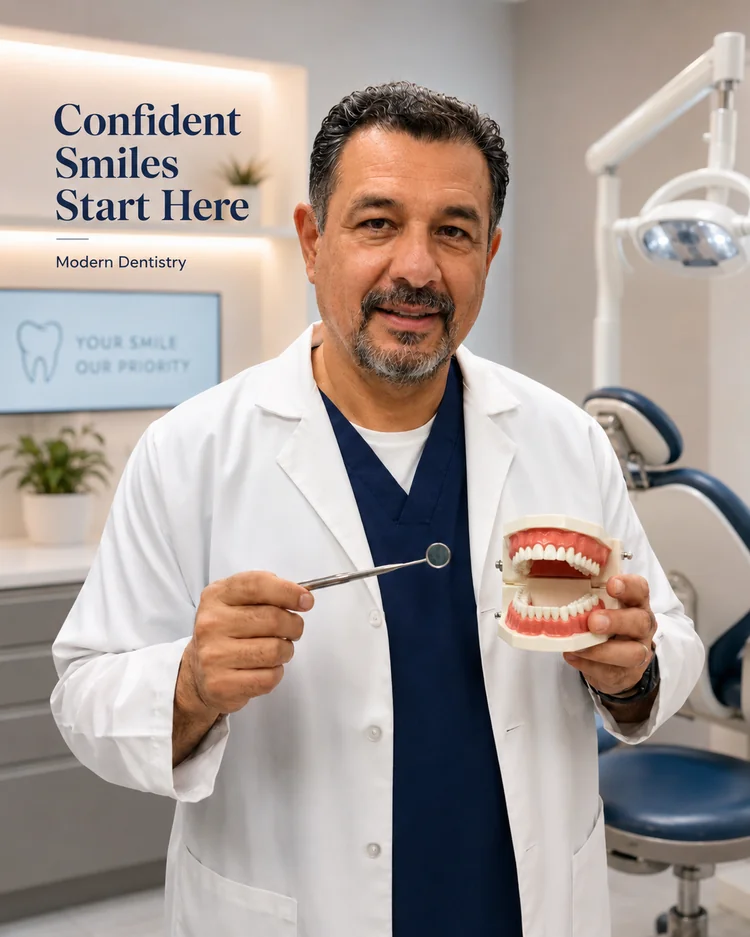
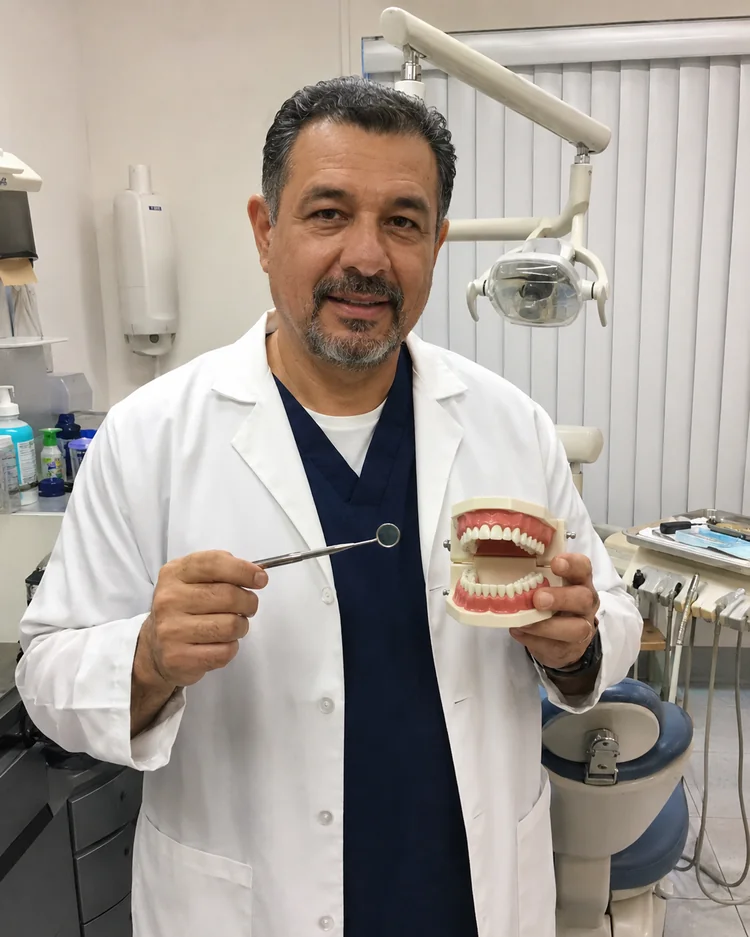
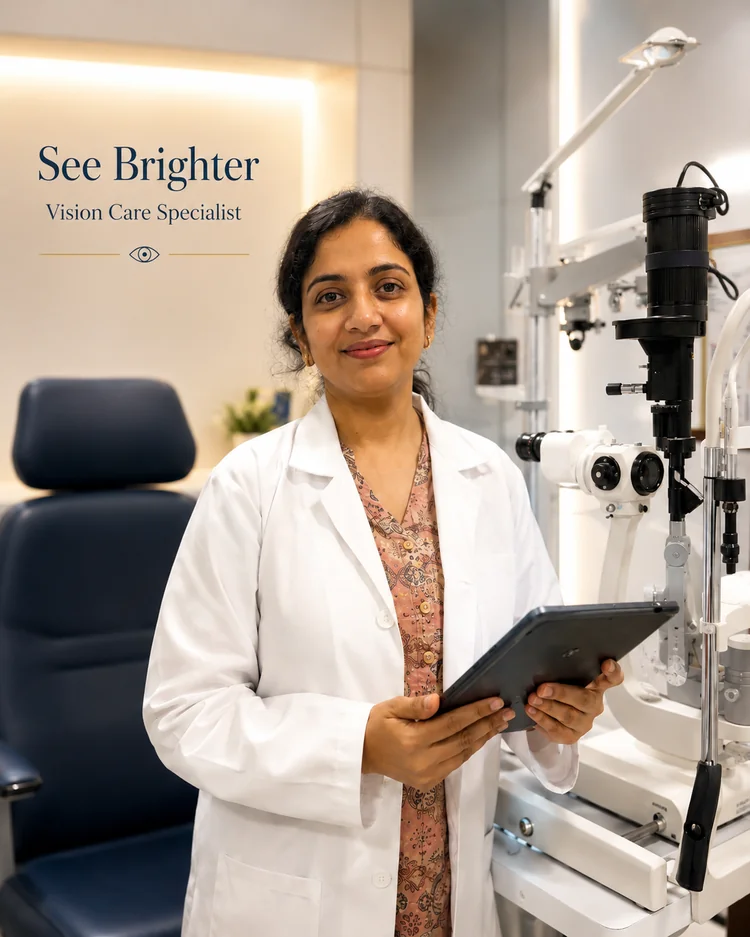
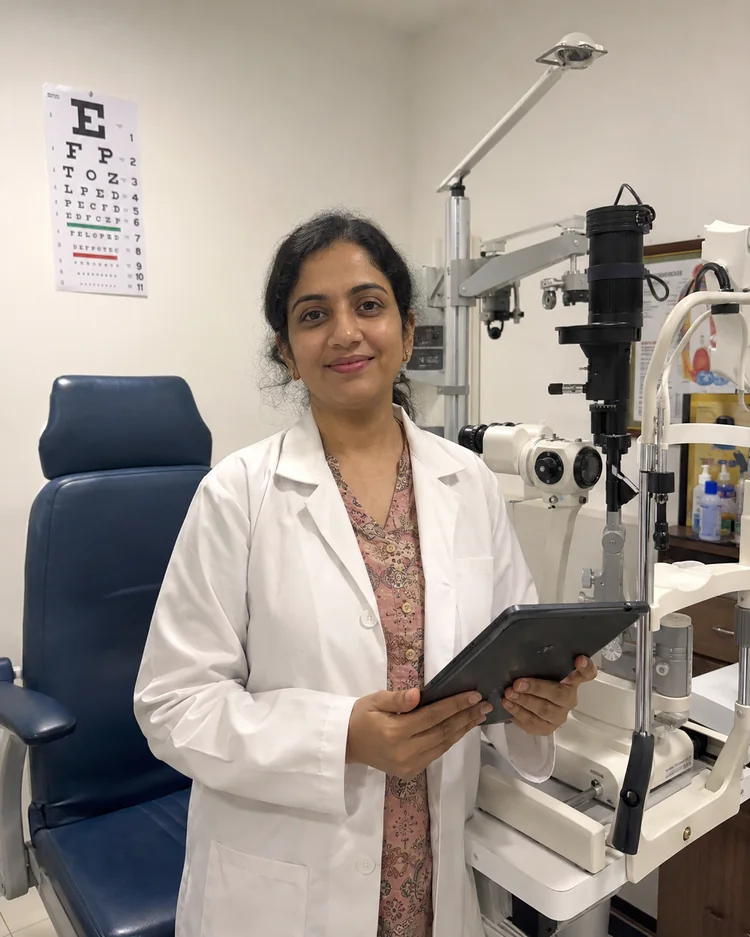
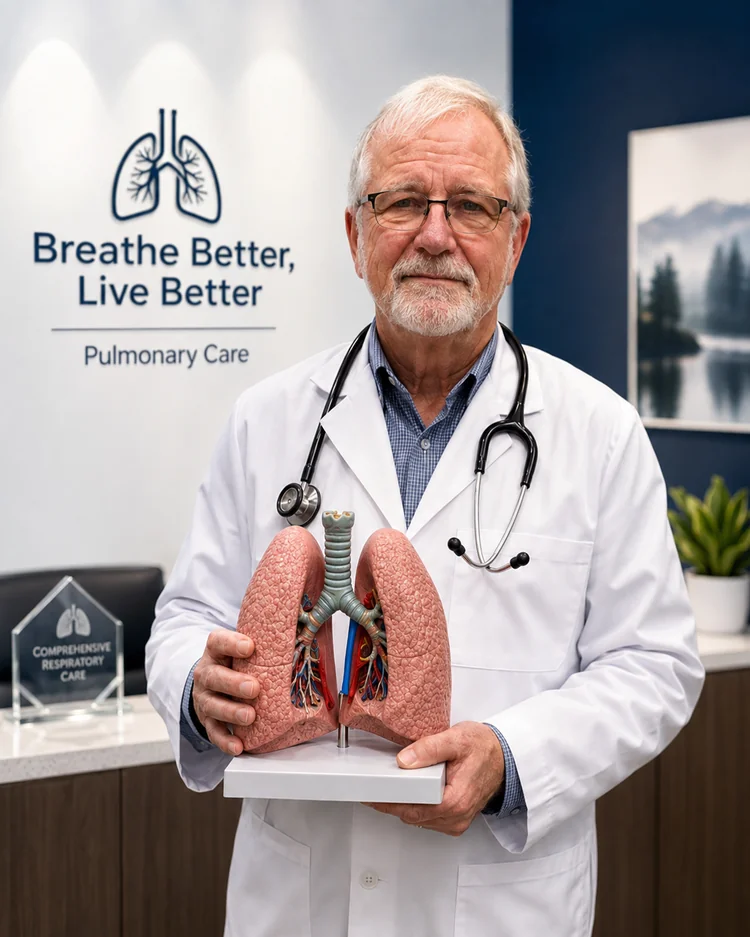
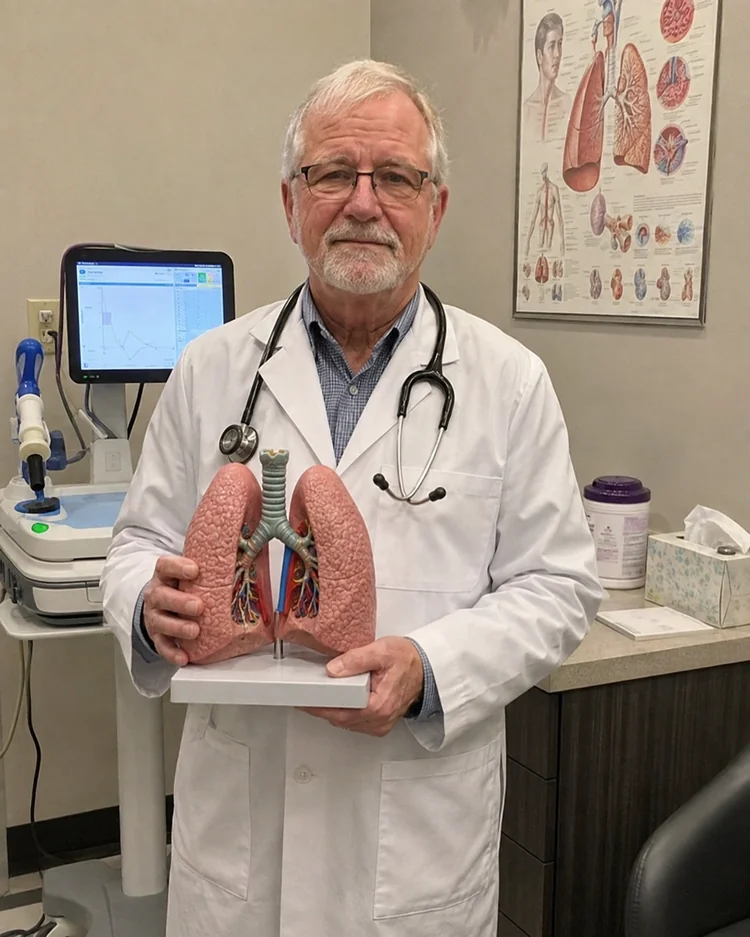
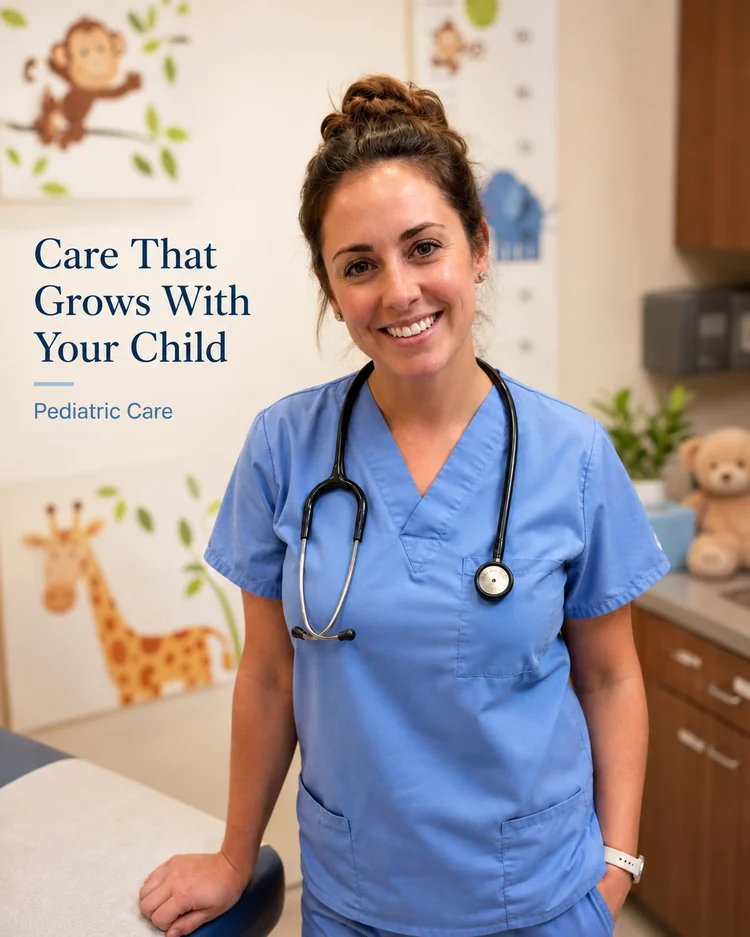
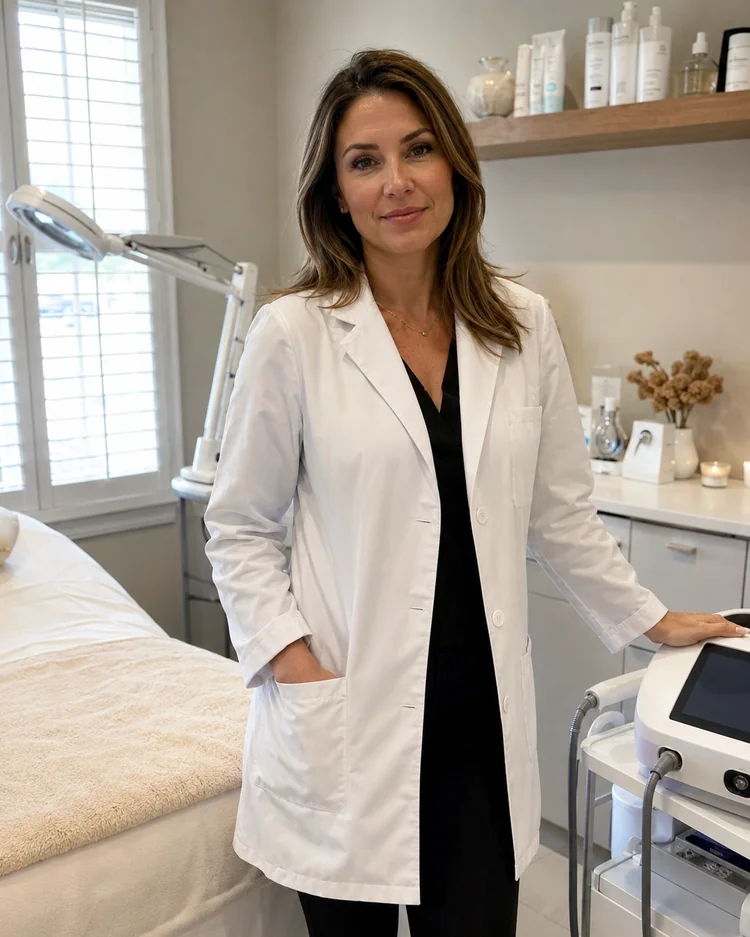
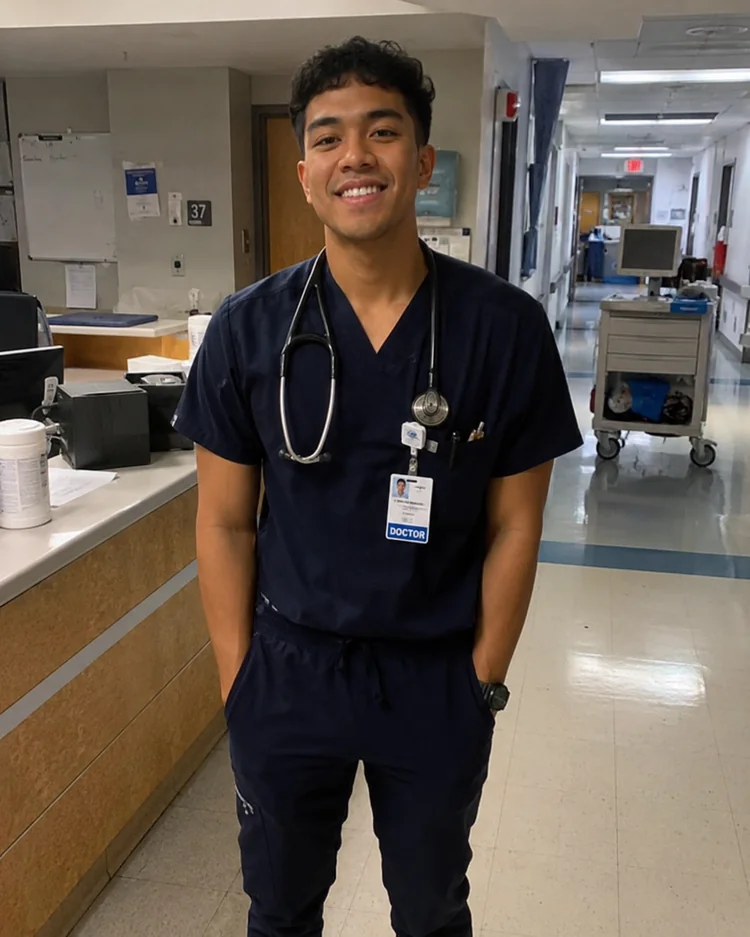
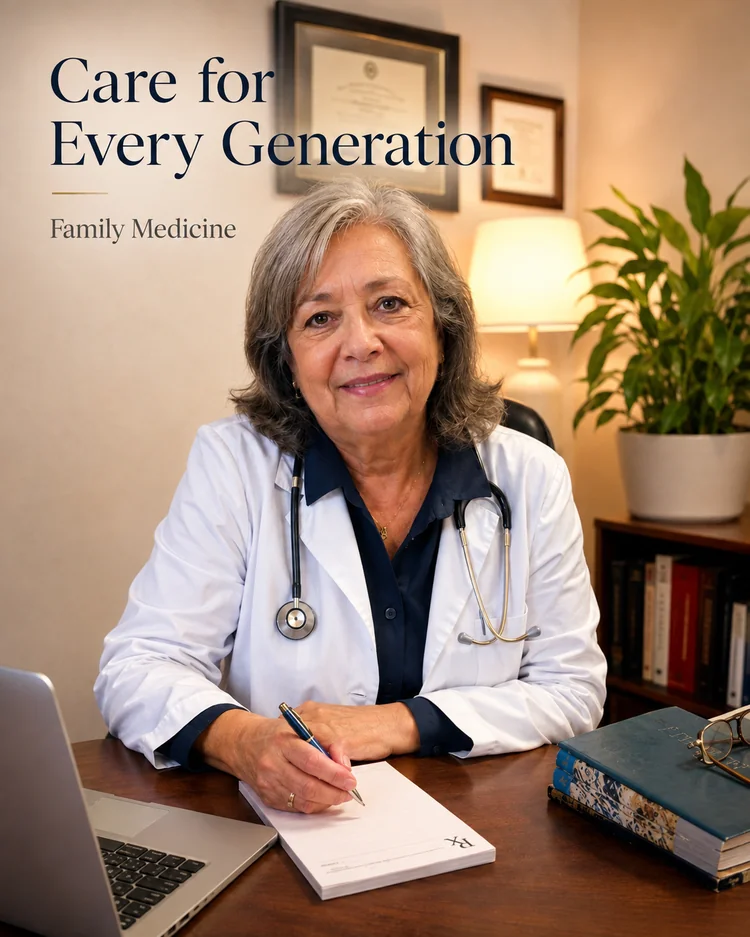
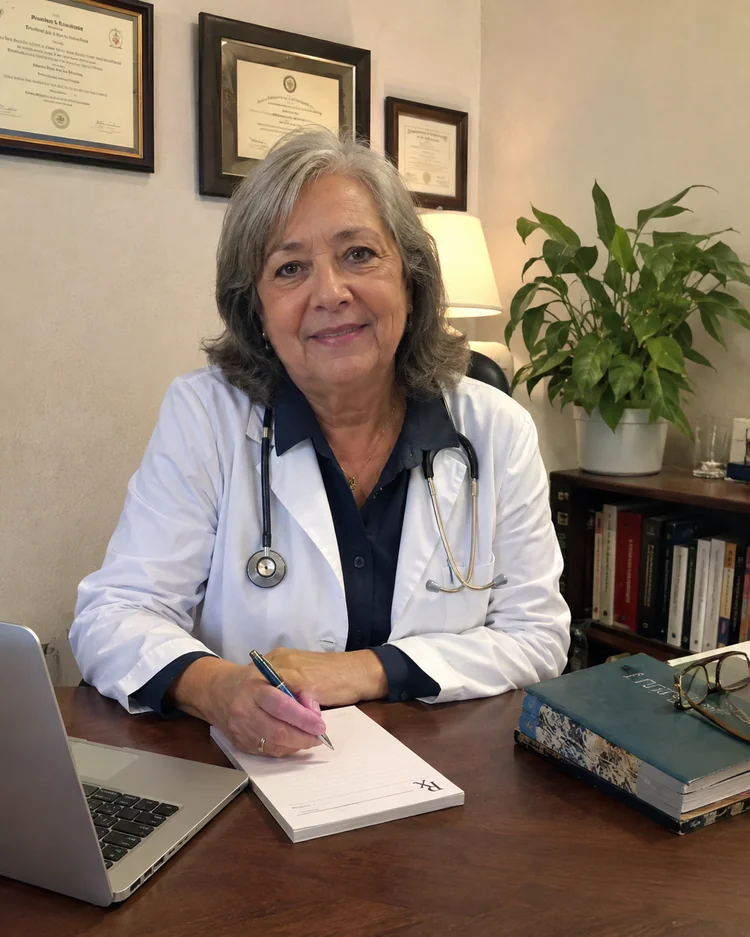
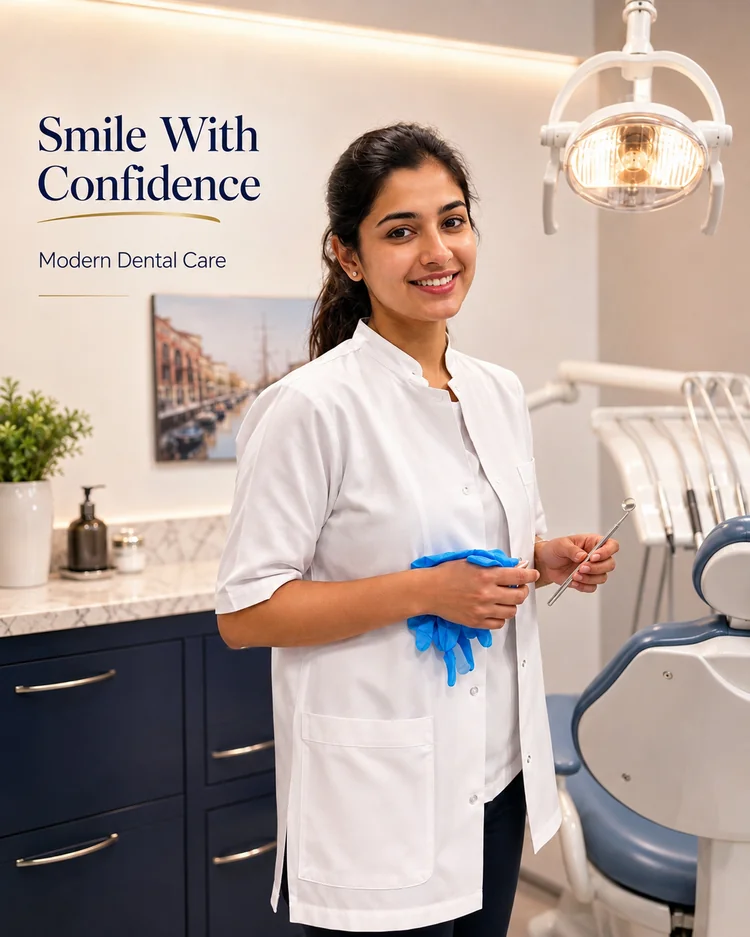
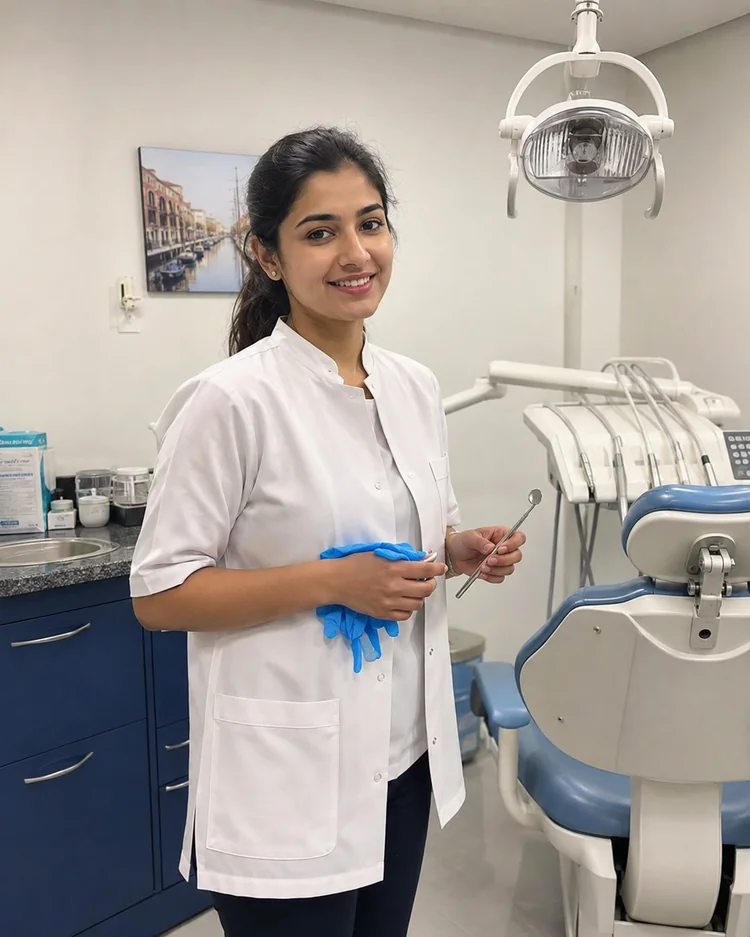
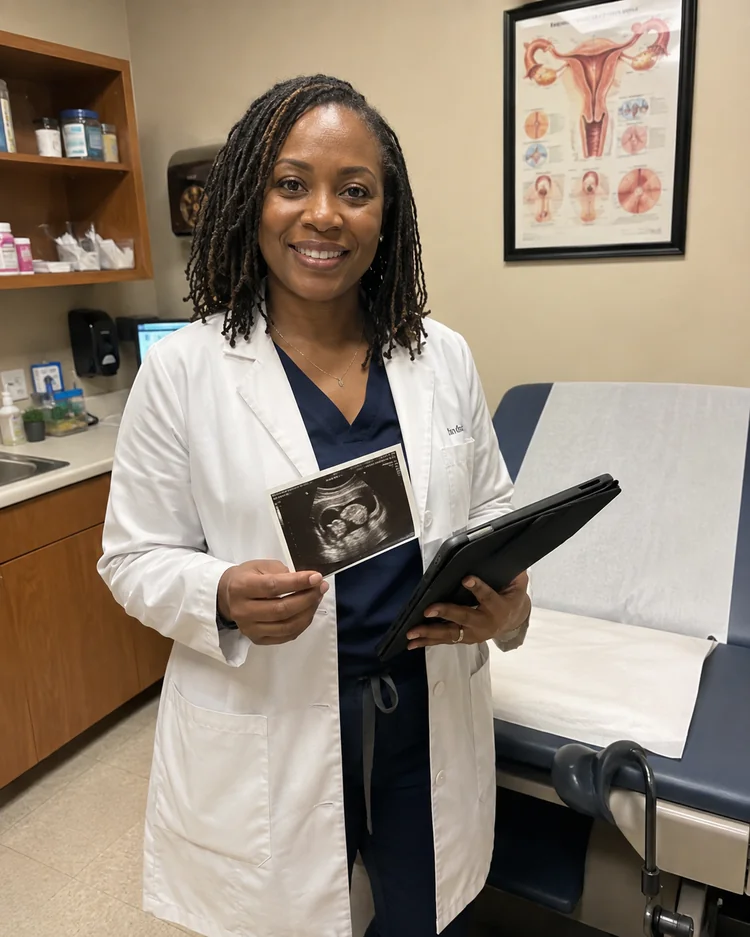
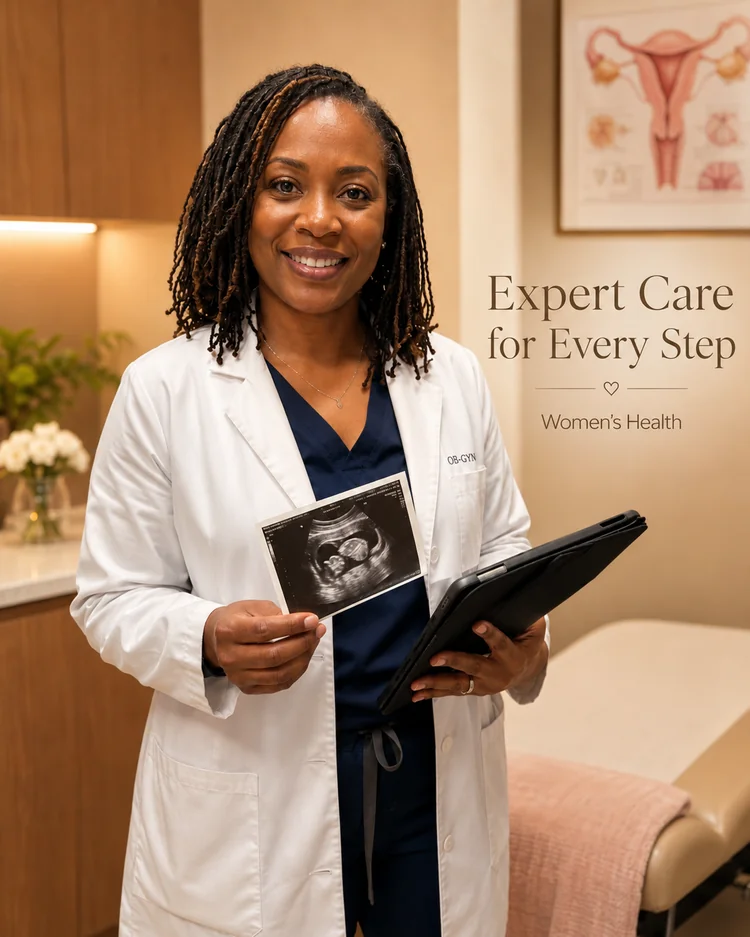
See how the Doctor workflow changes real source images. The generated result stays large while the original remains available from the lower-left preview for quick comparison.
Original
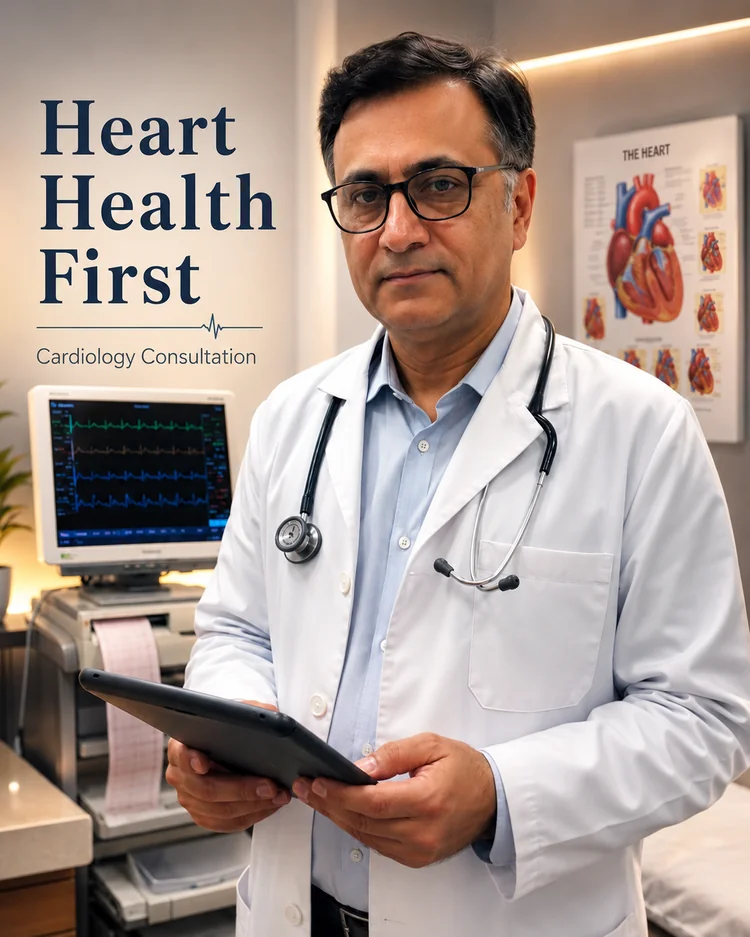
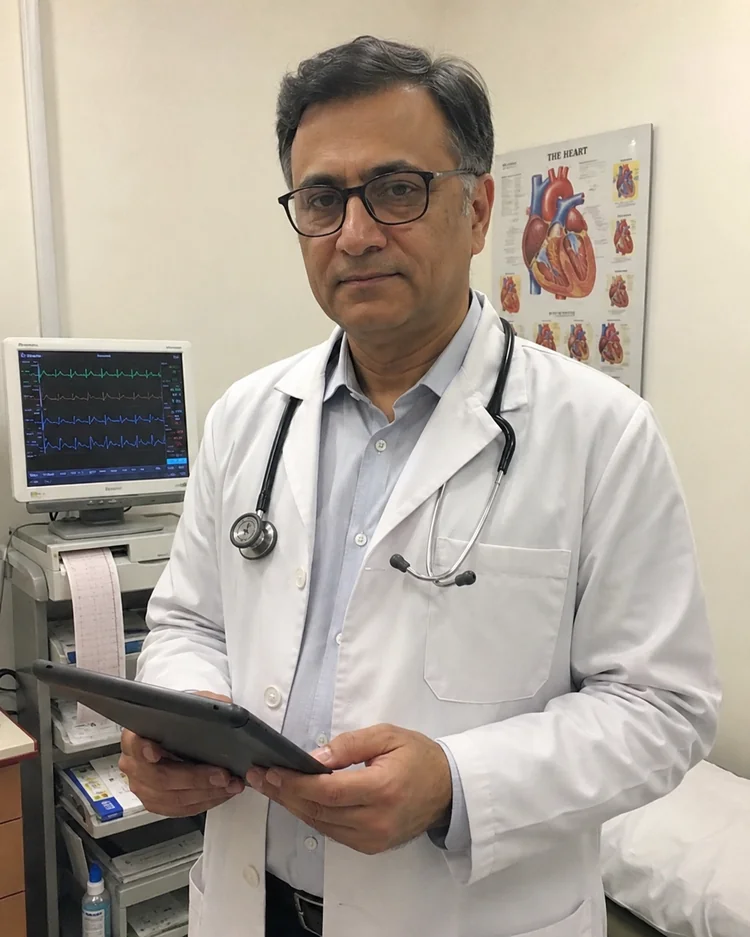 Original
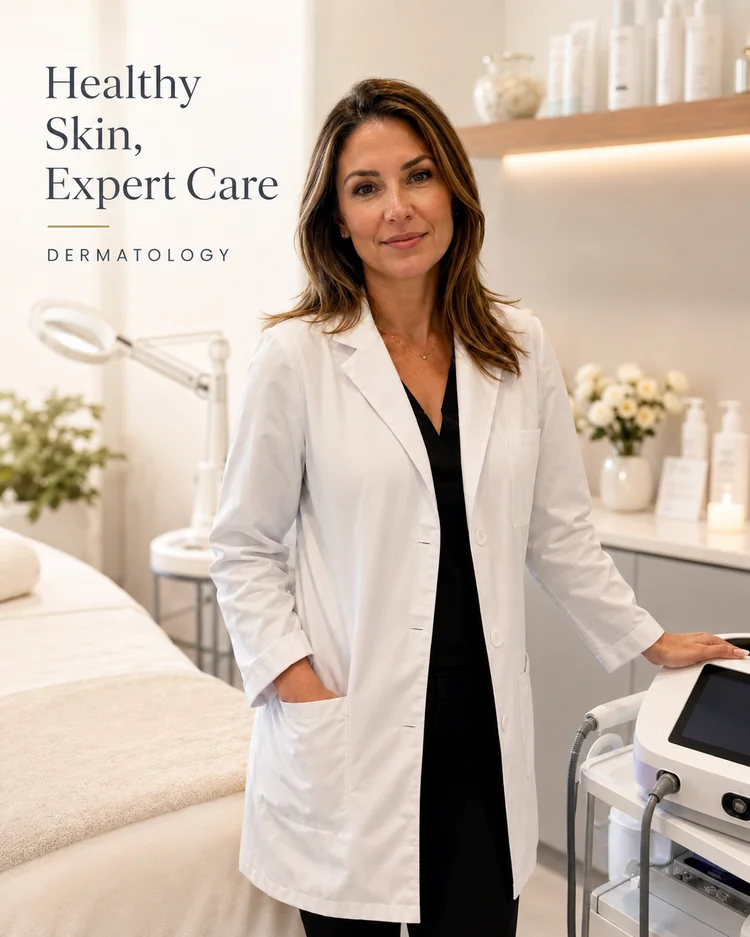
 Original

 Original
 Original
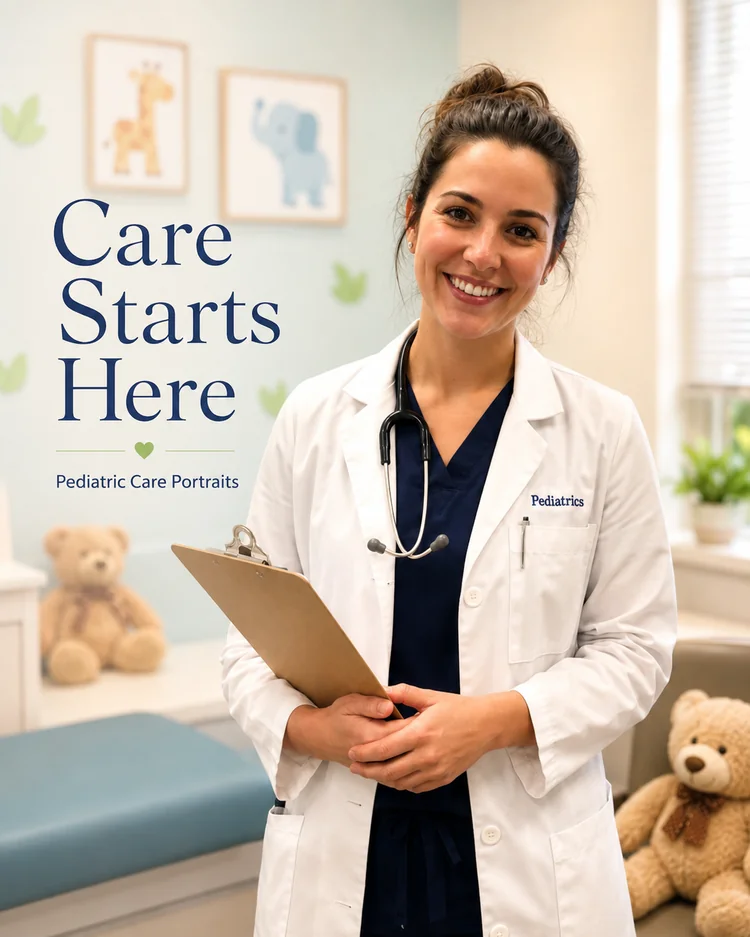
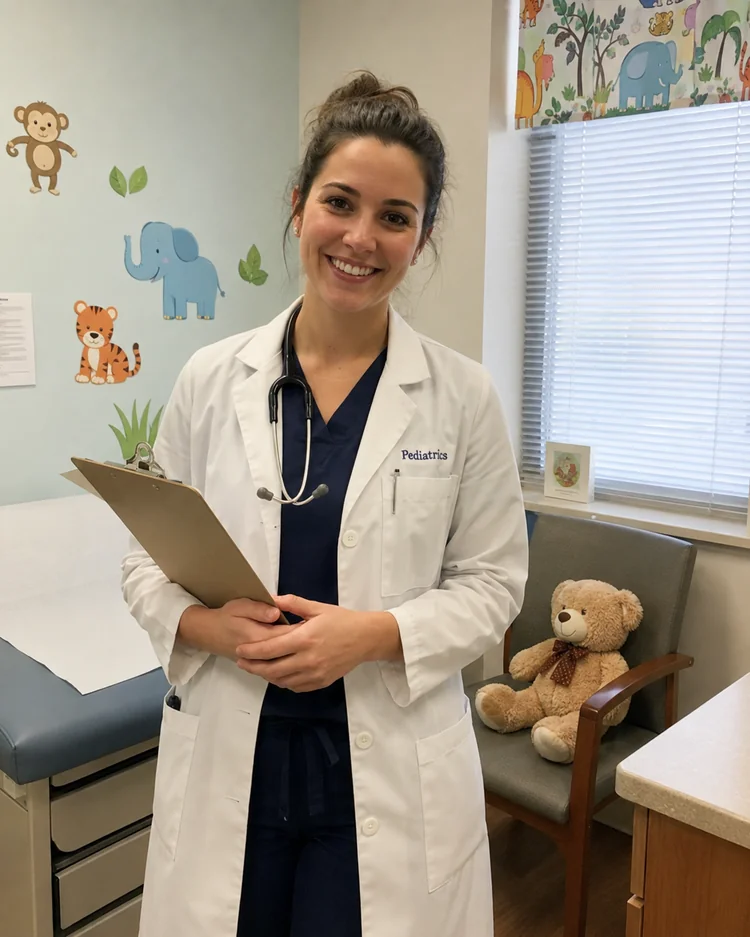 Original
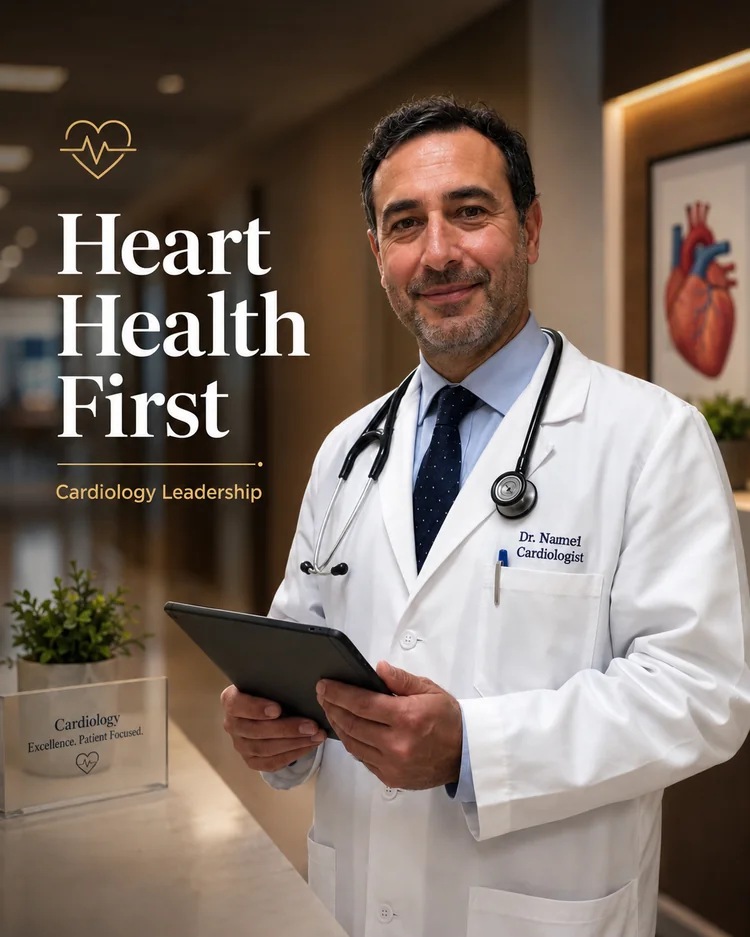
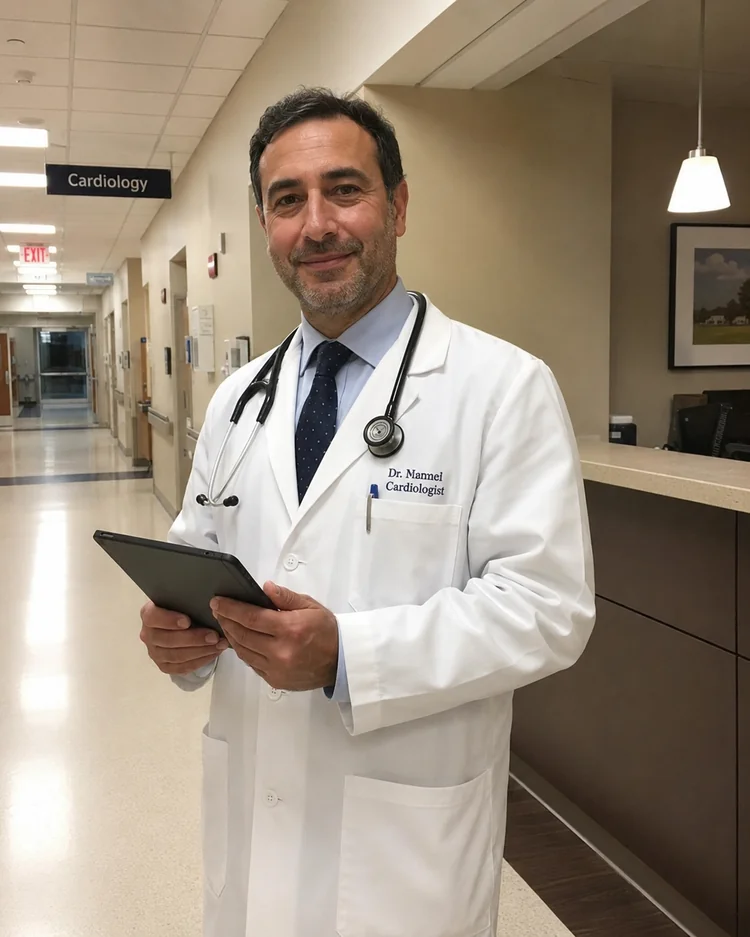 Original
 Original
The Doctor workflow starts from the uploaded image, not a generic replacement. Preserve identity, facial features, age, skin tone, hair and natural expression. This keeps the result useful for real commercial workflows rather than creating an unrelated concept.
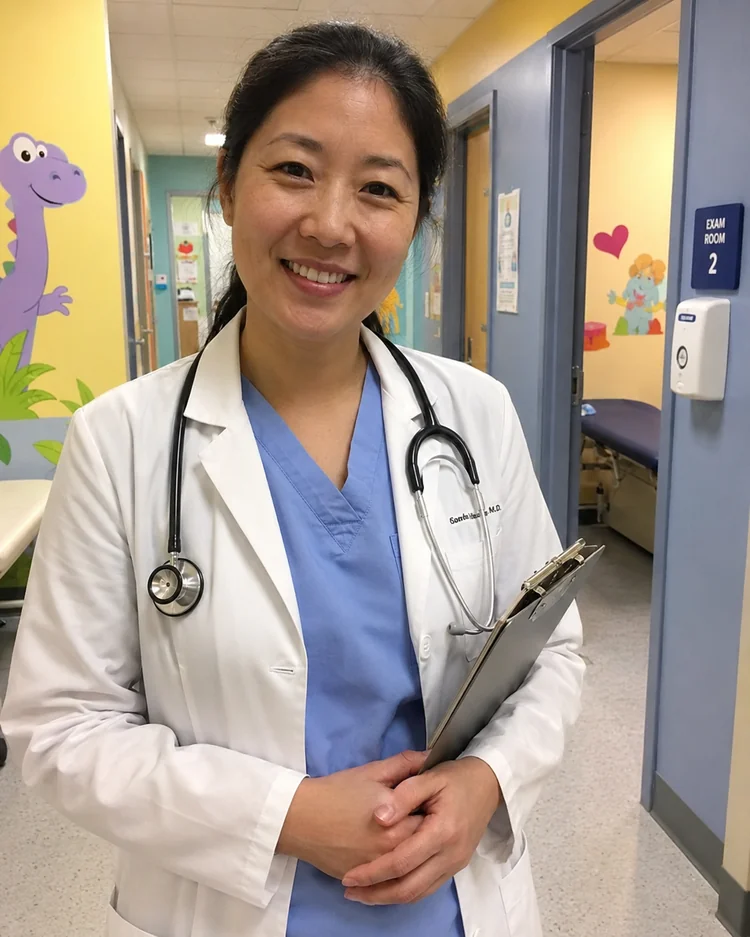
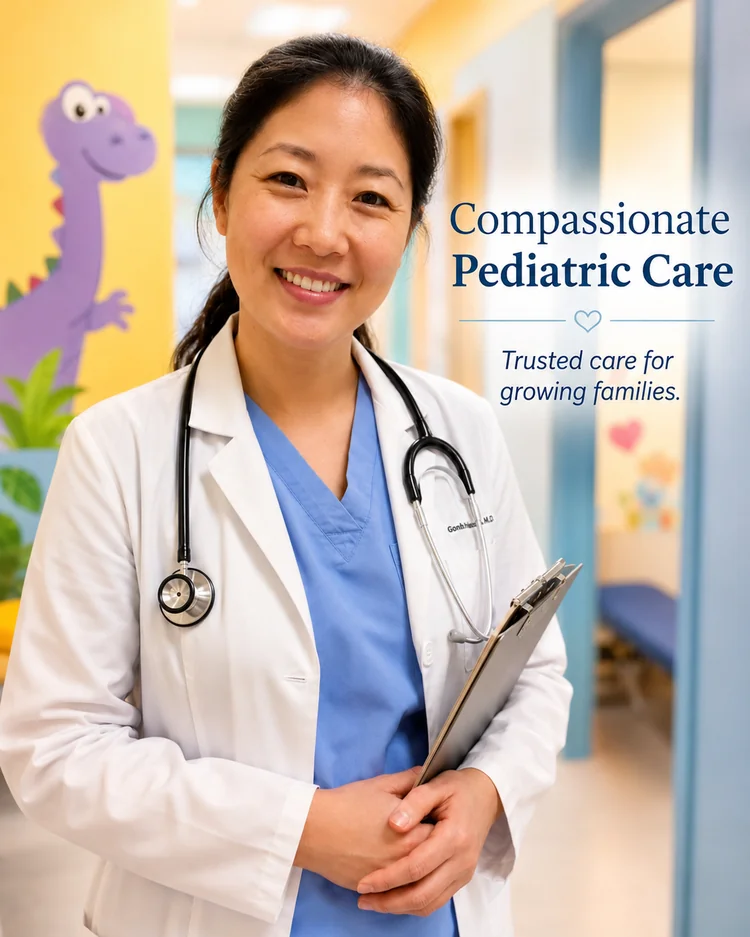
Instead of applying the same generic enhancement everywhere, this page is tuned specifically for Doctor. Use bright clinical or neutral lighting, tidy professional attire and a clean healthcare-appropriate background. The goal is a result that looks intentional for the channel or asset type.
Business images have to remain credible. Do not invent medical credentials, hospital logos, specialties, badges or alter identity. Review the final image before publishing whenever text, labels, identity, product details or regulated claims matter.
This page uses the shared Tool67 Business engine, but its source constraints, prompt behavior, optional background and text controls plus the default output ratio are tuned specifically for Doctor.
The uploaded image remains the required visual source, so the workflow is designed around editing and presentation rather than unrelated regeneration.
The default prompt is written specifically for Doctor, including what should change, what should remain stable and what should never be invented.
Optional Replace Background and Add Text toggles let you quickly add two common creative directions without rewriting the main prompt.
Process up to nine images independently, automatically retry temporary failures, retry only failed items, and download successful outputs individually or as a ZIP.
It uses the uploaded image as the required source and applies scene-specific changes for Doctor. Use bright clinical or neutral lighting, tidy professional attire and a clean healthcare-appropriate background.
Preserve identity, facial features, age, skin tone, hair and natural expression.
Yes. You can upload up to nine images at once. Each image is processed independently as its own generation, in order, and produces its own result.
Temporary network, timeout, service and internal errors are retried automatically once. If an item still fails, retry only that failed image without uploading the batch again.
No. This page includes a default Doctor prompt. If the prompt box is empty at generation time, the default prompt is used automatically. The optional Replace Background and Add Text toggles can append matching scene-specific instructions automatically.
You can choose the available model, resolution, image ratio and quality. The page also starts with a scene-appropriate default ratio and quality where configured.
Review identity, labels, text, factual product or property details, brand assets and any claims that matter to the use case. Do not invent medical credentials, hospital logos, specialties, badges or alter identity.